How to Clean Your Mechanical Keyboard Keycaps
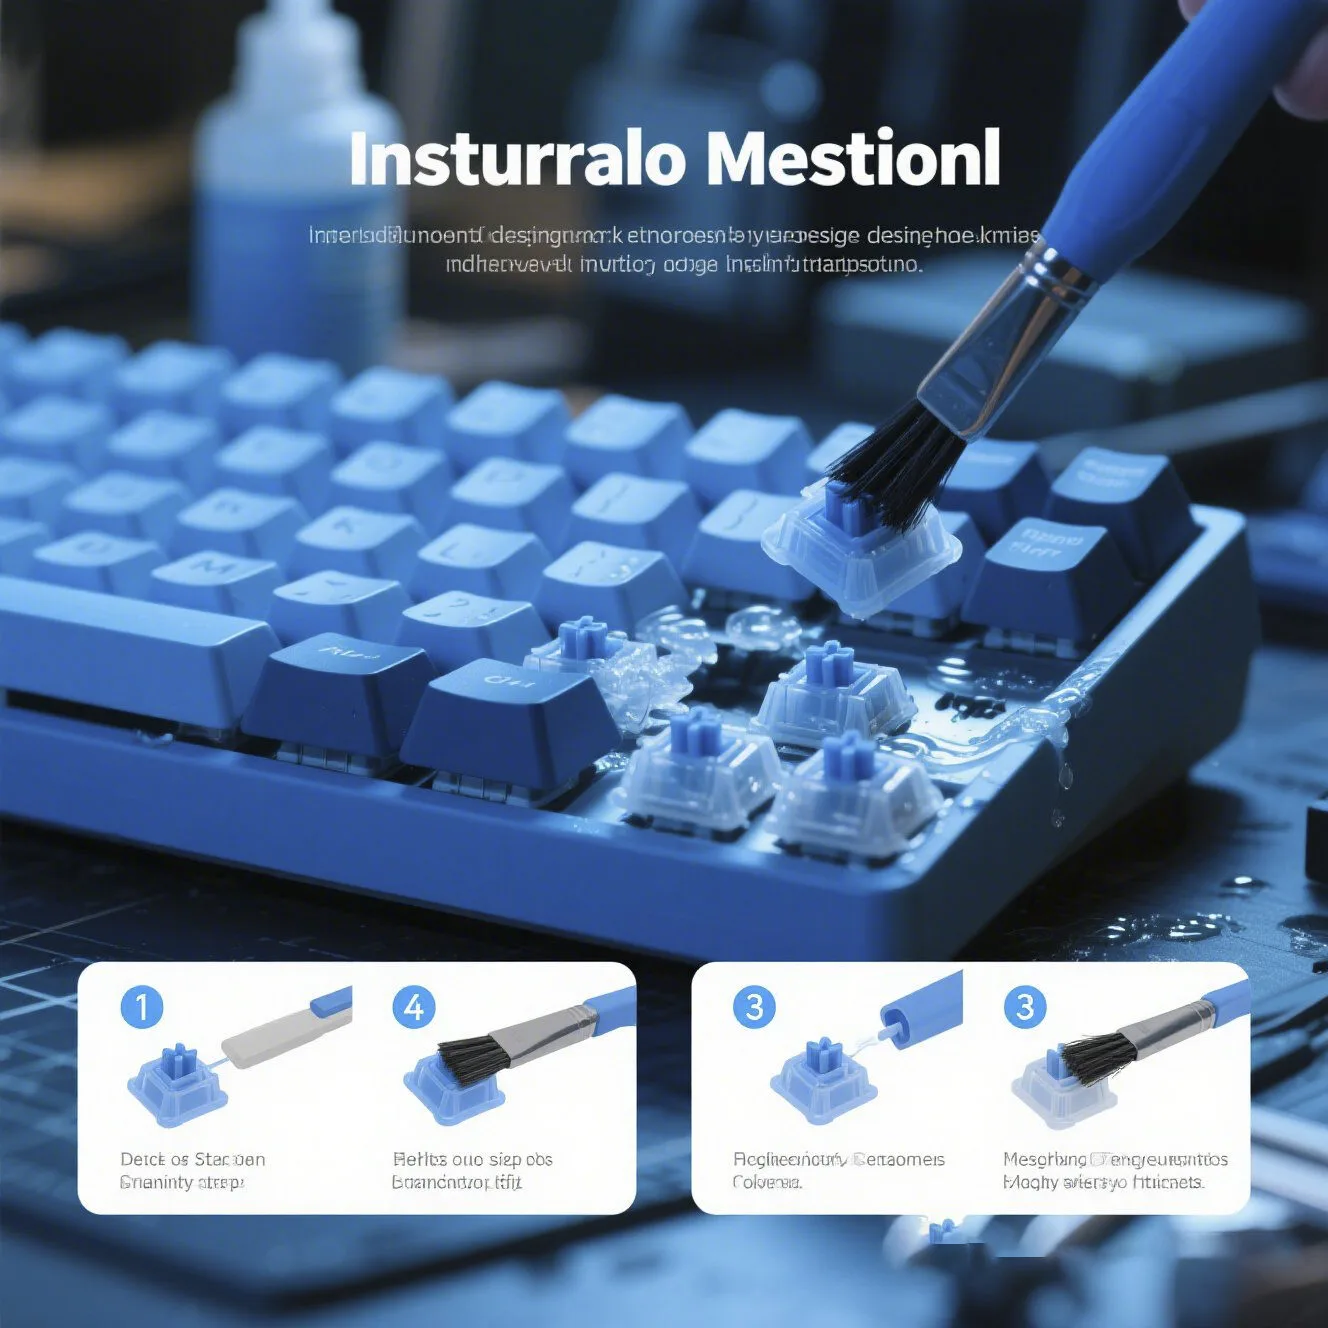
Over time, your mechanical keyboard keycaps collect dirt, oil, and dust—especially if you use your keyboard daily or eat at your desk. Cleaning your keycaps not only improves the look of your keyboard, but also maintains a smooth typing feel. In this guide, you’ll learn how to safely remove and clean mechanical keycaps, step-by-step. See this short video for a quick demonstration.

🧽 What You Need to Clean Your Keycaps
Before you begin, gather the following supplies:
- Keycap puller (wire type is preferred)
- Warm water (not hot)
- Mild dish soap or hand soap
- Soft brush or toothbrush
- Clean towel or microfiber cloth
- Optional: small container or bowl
🛠️ Step-by-Step: How to Clean Your Keycaps
Step 1: Remove the Keycaps
Use a keycap puller to gently pull off each keycap. Grip the cap from opposite corners and pull straight up. Start with the smaller keys and leave larger keys like the spacebar for last, as they may have stabilizers.
Step 2: Soak the Keycaps
Place all the keycaps in a bowl of warm, soapy water. Let them soak for 30–60 minutes. This helps break down grime and oils stuck to the surface.
Step 3: Scrub the Keycaps
After soaking, use a soft brush or old toothbrush to scrub away remaining dirt. Be gentle—avoid scratching the legends or plastic.
Step 4: Rinse and Dry
Rinse the keycaps under clean water. Lay them out on a towel or microfiber cloth to air dry completely. Important: Make sure the keycaps are 100% dry before putting them back on your keyboard—this may take 12–24 hours.
Step 5: Reinstall the Keycaps
Once dry, gently press each keycap back onto its switch. Make sure the orientation is correct, and larger keys are aligned with their stabilizers.

📹 Watch It in Action
If you prefer visual instructions, check out this 30-second video tutorial showing the keycap removal and cleaning process in real time.
💡 Bonus Tip: Clean the Keyboard Base Too
While your keycaps are drying, use compressed air or a brush to clean the exposed keyboard base. This is the perfect opportunity to remove crumbs, dust, and pet hair from the switches and case.
🧠 Frequently Asked Questions
Q: Can I clean keycaps with alcohol?
It’s best to avoid alcohol, as it may damage the plastic or printed legends. Use mild soap instead.
Q: Can I use a dishwasher?
While some users do, it’s not recommended. Heat and detergent may damage certain types of plastic or fade key labels.
Q: How often should I clean my keycaps?
Ideally every 2–3 months, or more often if you notice buildup or type frequently.

Related AllwinKey factory sourcing pages
If you are comparing costs, materials or factory options, use these pages to prepare a practical sourcing request:
Frequently Asked Questions
Clean keycaps every 2-3 months for daily use, or monthly if you eat at your desk, to prevent oil buildup and maintain typing feel.
Yes, but only for PBT keycaps. For ABS keycaps, use isopropyl alcohol to avoid damage. Always dry thoroughly before reinstalling.
A keycap puller, soft brush, microfiber cloth, and isopropyl alcohol (70% or higher) are essential for safe and effective cleaning.
Buyer next step
Need custom keyboards or keycaps from a factory?
Send material, layout, quantity, packaging and timeline. AllwinKey will use it to prepare a practical RFQ discussion.
Member / sourcing checklist
Use the sourcing checklist before you register
Prepare MOQ, material, layout, packaging and sample questions before you contact the factory.
Open buyer sourcing checklist →Register as a buyer / member →
Buyer Q&A
Use this area for practical sourcing questions about MOQ, materials, layouts, samples, packaging, production schedule or OEM/ODM details.
No public sourcing questions yet. Be the first to ask a practical buyer question.